French Fitness Wicking Skull Cap Review

As a gee whiz I picked up a wicking skull cap made by French Fitness to wear under my helmet. I recently replaced my helmet, and the new one doesn’t play nice with my shaved head. It’s like hook and loop fastener (the V word is trademarked) for the liner, which gets bunched up when I put the helmet on and pulled off when I take it off. This was really getting old, so I started searching for a remedy.

I found this wicking skull cap, and was intrigued. While the manufacturer does have bulk packs, I bought a single one to test. My initial impression of it was that it covered my head nicely. Putting the helmet on was great, it slipped right on with no resistance, and the liner stayed in place. It was a bit warm today, with temperatures in the low 90s, so it got a bit of a workout. I had no issues with airflow over it. With how light the fabric is, I didn’t notice any overheating issues. The new helmet flows a lot of air, and it didn’t seem to impede that at all.

If you’re looking for something like this, here’s the Amazon link: https://amzn.to/3Slc1kC

Motorcycle Grand Tour of Texas – Ride #1

Today, I hit the road to get my first set of stops of this year’s Motorcycle Grand Tour of Texas. The Grand Tour is a photo scavenger hunt, with objectives scattered all around Texas. You ride to them and take a picture of the attraction, your bike, and the flag with your entrant number.

Due to an epic GPS fail, I actually did my planned route in reverse. The GPS lost its mind, deleted my staring waypoint from the route, and routing me to the last stop. I caught that before it became a problem, but decided to just keep going. So I killed the route and just routed to each waypoint one by one.

My new first stop was the giant cows at the Southwest Dairy Museum in Sulphur Springs. It looks like an interesting place to visit when I have more time. But as I had more stops to visit, I took the required picture and then got rolling for Paris.

Southwest Dairy Museum
Motorcycle Grand Tour of Texas stop at the Southwest Dairy Museum

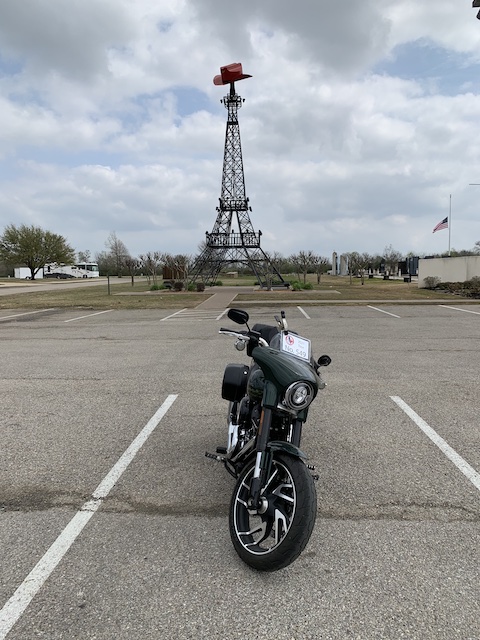
From the giant cows, I pointed the bike at Paris, where I had three stops on the list. The first one, of course, was the replica Eiffel Tower. This one has its own Texas flair with a cowboy hat on top.

The Eiffel Tower in Paris, Texas

Next up, I rode a couple miles into town to visit South Main Iron. It’s a nice little indie shop, in downtown Paris. They have a decent selection of bikes for sale as well as the obligatory shirts and stuff to buy. I did buy a shirt and a pint glass, because you either support the indies or you’ll only have dealerships. They’re definitely worth a visit, and check their social calendar to see what they’ve got going on.

South Main Iron in Paris, Texas

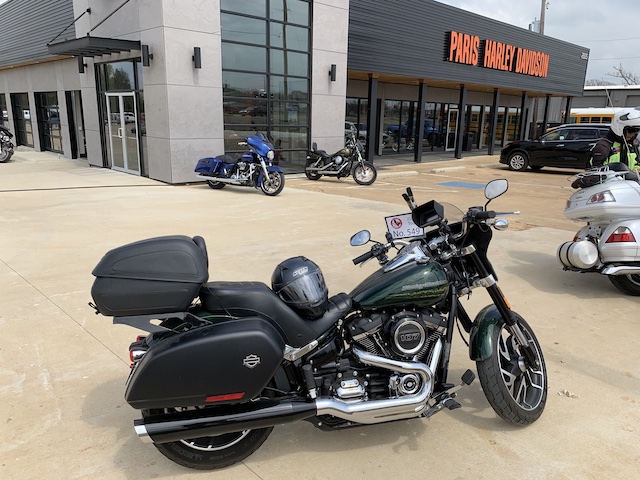
The final stop was Paris Harley Davidson. I took the required picture and then popped in to pick up a shirt and a poker chip. We chatted about their world record parade and the logistics involved with it. Let’s just say that I’m not going to be working on an official Guinness World Record any time soon. After that I pointed the bike towards home and enjoyed the rest of a great day of riding.

Paris Harley Davidson

Extended Switch Caps On A Sport Glide

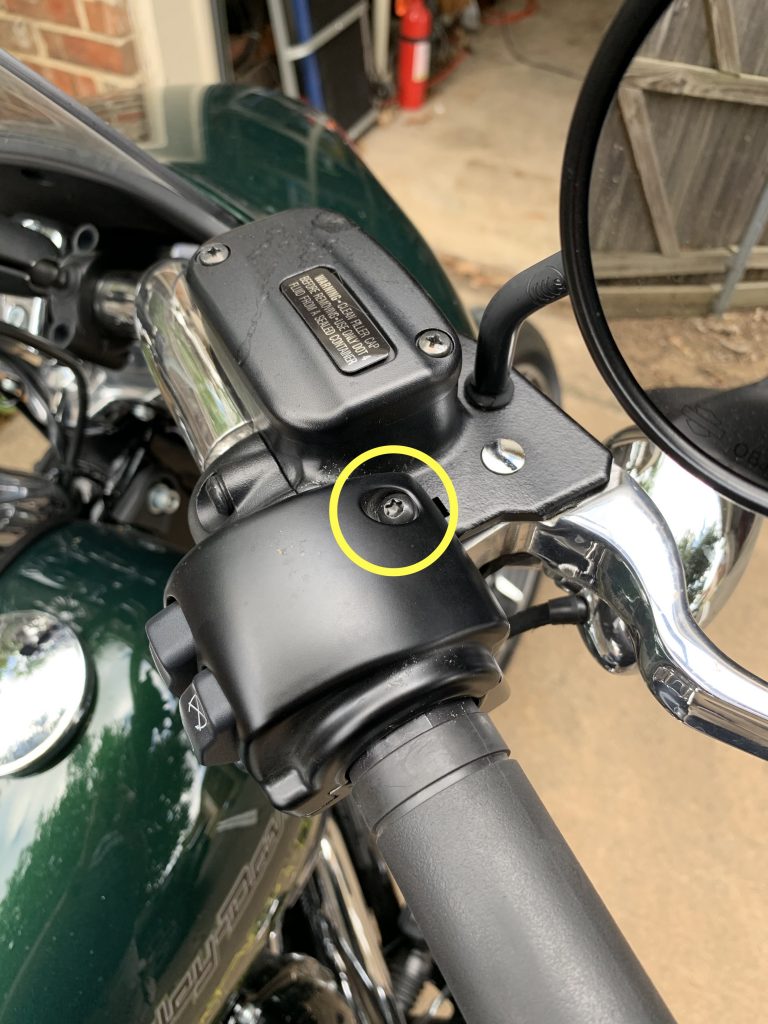
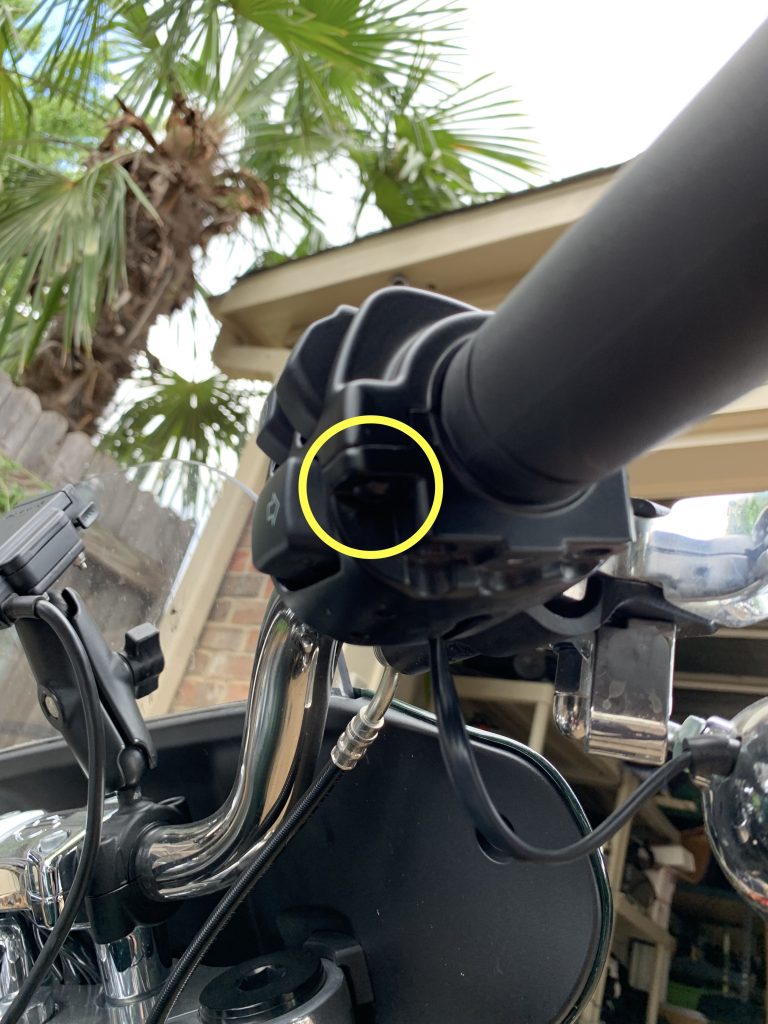
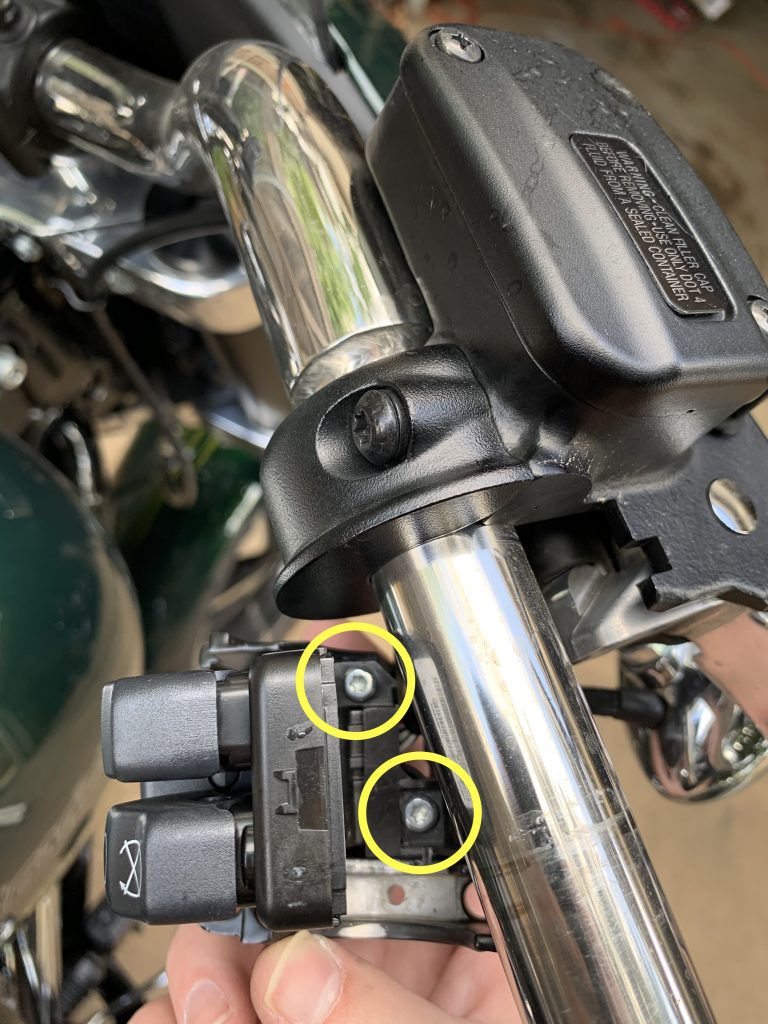
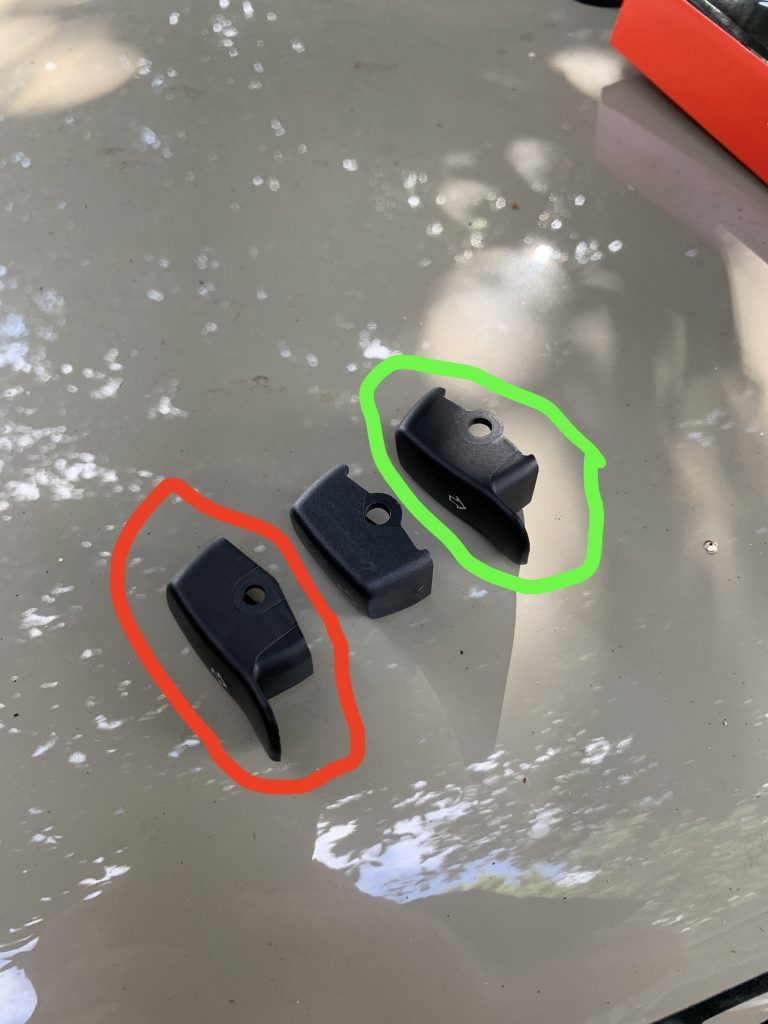
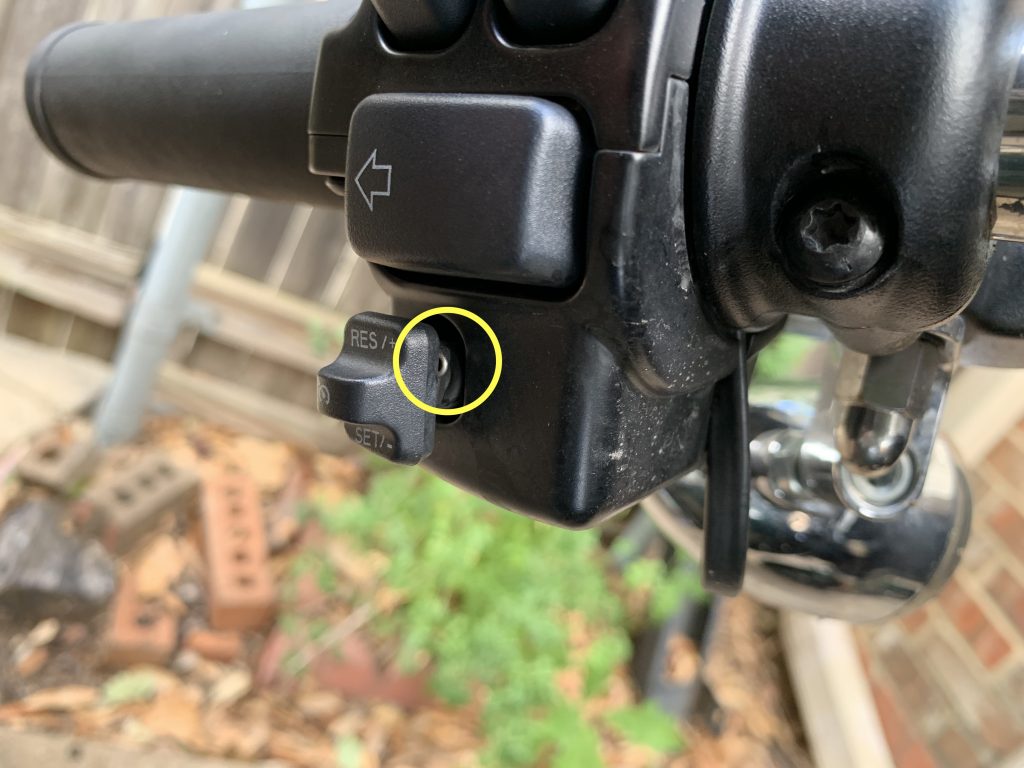
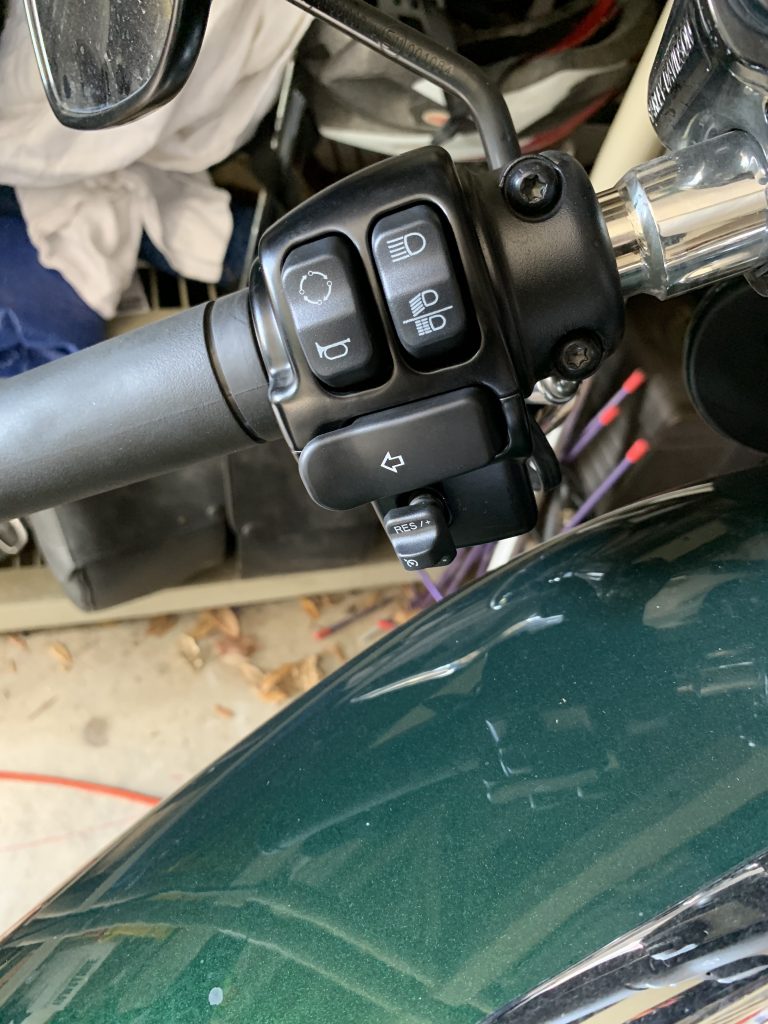
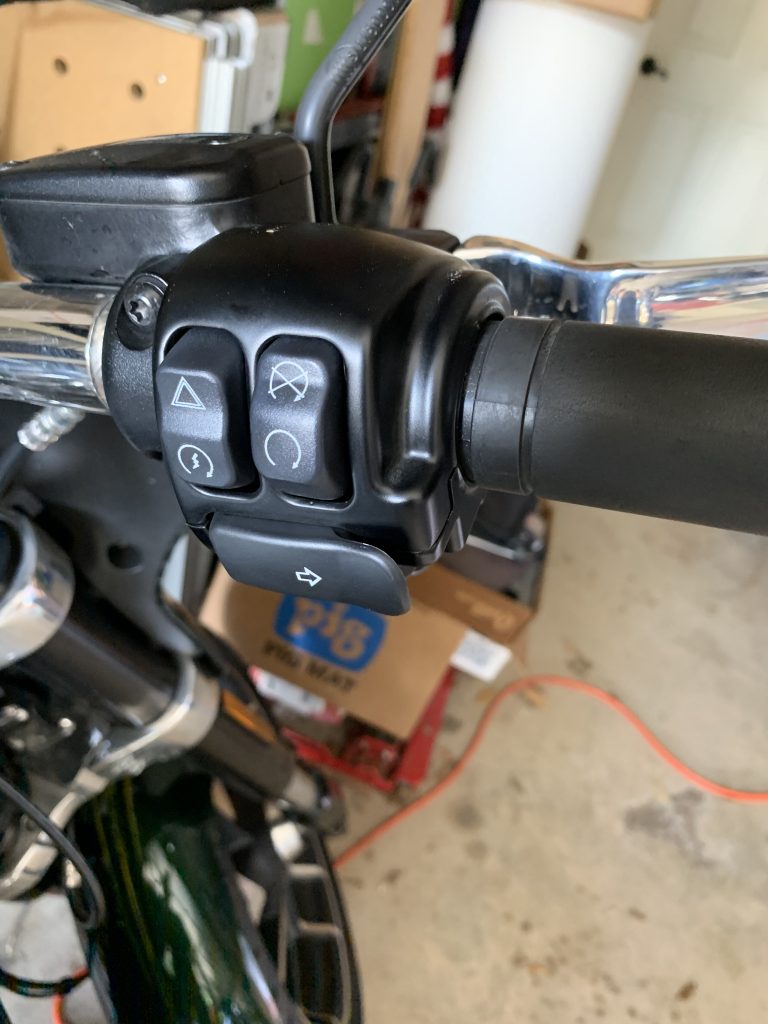
This morning’s project was to install Harley’s extended switch caps on my 2019 Sport Glide. I’m installing part number 71500177. Harley says that they won’t fit the Sport Glide, but fellow owners have said that they will in fact work. Due to a minor birth defect, it’s really tough for me to operate the stock right switch. I’m doing the write-up first, and then attaching pictures below, so be sure to scroll down.

I started with the right side switch housing because it’s the simpler one. The first step is to remove the two T-25 screws that hold the switch housing on the bars. Then wiggle the housing off of the bar, keeping in mind that the grip is loose and will slide off. Once it’s been loosened, take off the two T-15 screws that hold the switch module in the bottom housing. From there it’s easy to pop the old switch cap off. One thing to keep in mind that the switch caps are not the same. Compare the one you just removed to the two in the box. You’ll see that there’s a difference in the notches molded in to it. Make sure you use the right one. Pop that on and then reassemble everything in reverse and give it a function check before moving on.

The left switch housing is a little more complicated than the right one. You have to remove the clip that holds the cruise control switch on its post. Next, remove the T-25 screws and separate the housing halves. Once that’s off, the steps are the same as for the right hand housing. Also keep in mind that there’s a clutch switch that is loose in there, just held in place by tension. Once you get everything disassembled, swap your switch cap, and then put it all back together. Keep in mind the routing of the wires and make sure that the clutch switch is in place. Do a function check on that side to make sure nothing got jacked up and then you’re done. Enjoy your new extended switch caps.

The Sportster’s New LED Headlight

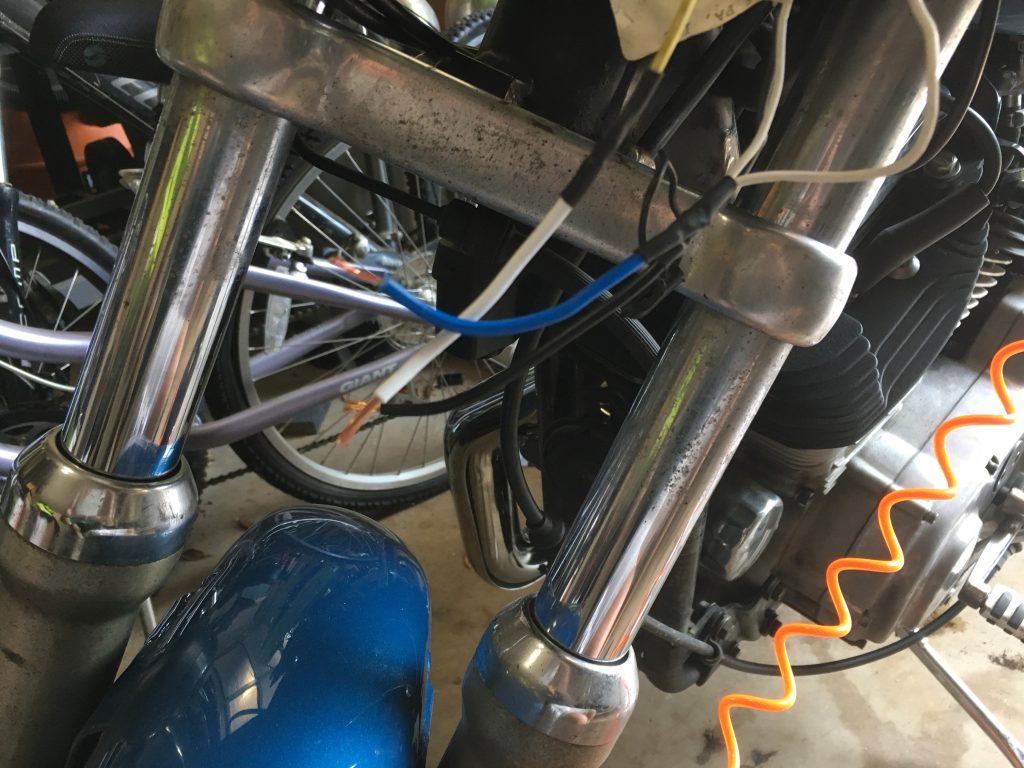
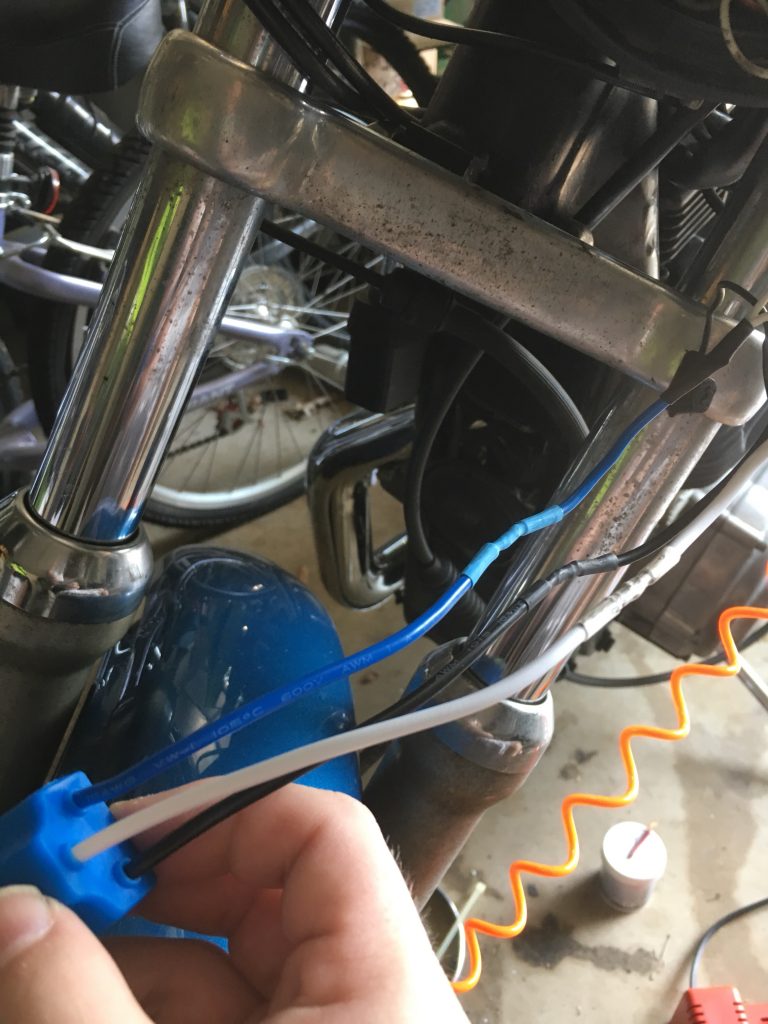
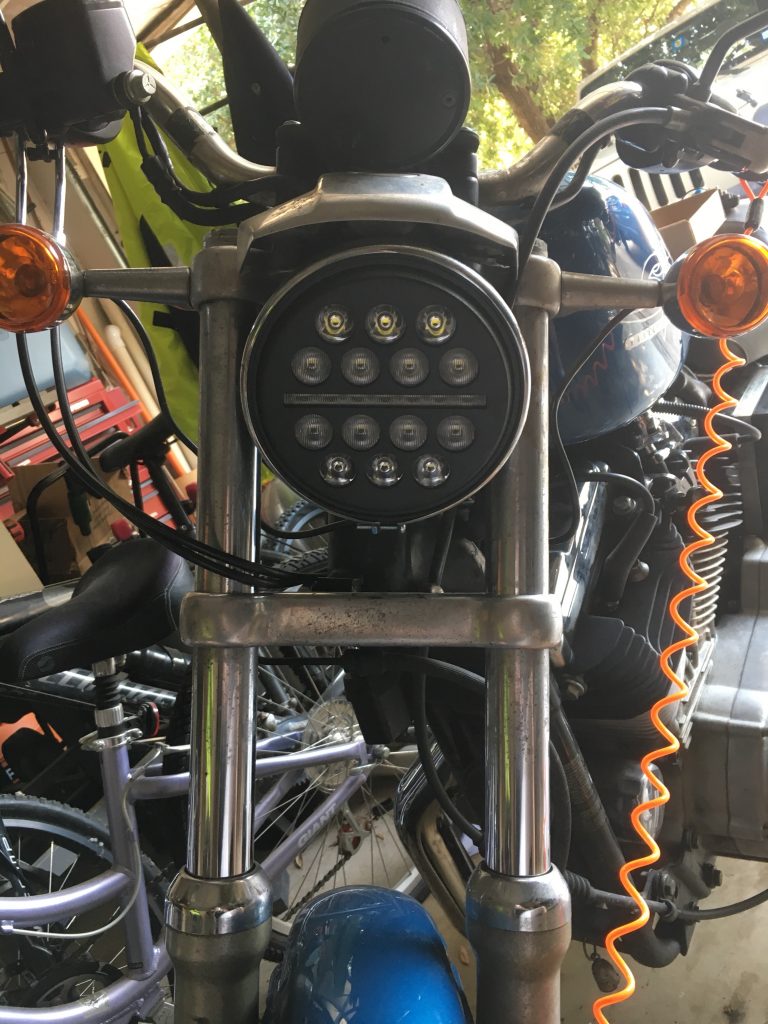
Thanks to the old headlight falling off on the way home from the shop (yes, that really happened), I’m installing a new headlight today. First up was replacing the crumbling socket, so some soldering was in order. Nothing too horrible, three wires and some shrink tubing.

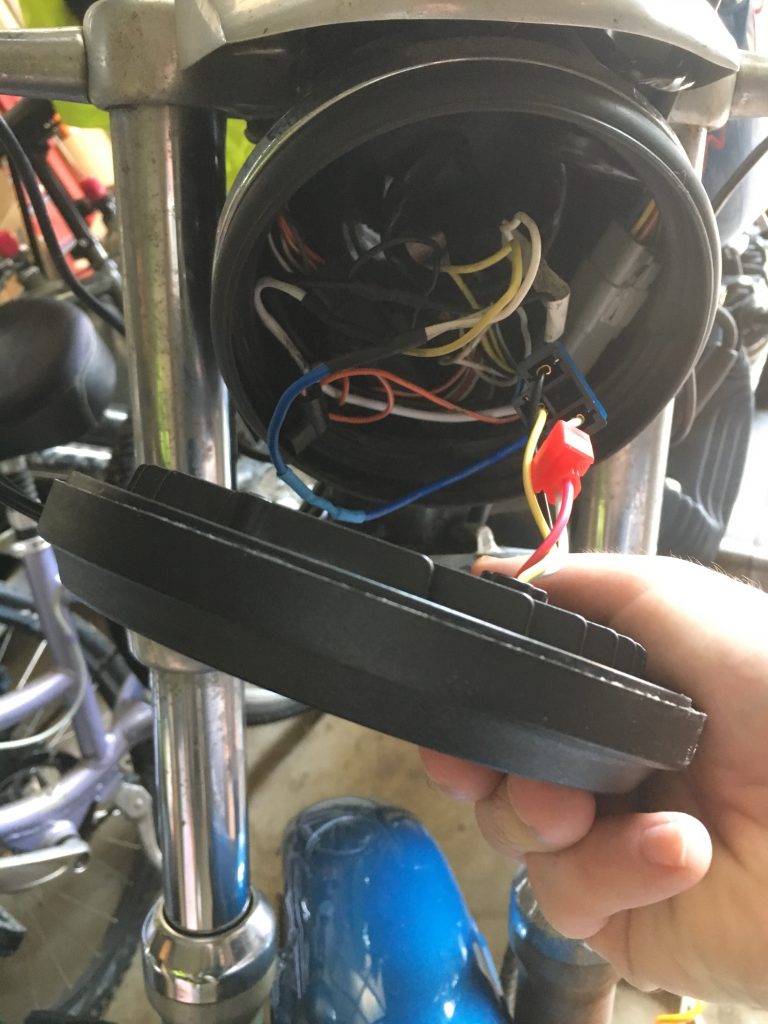
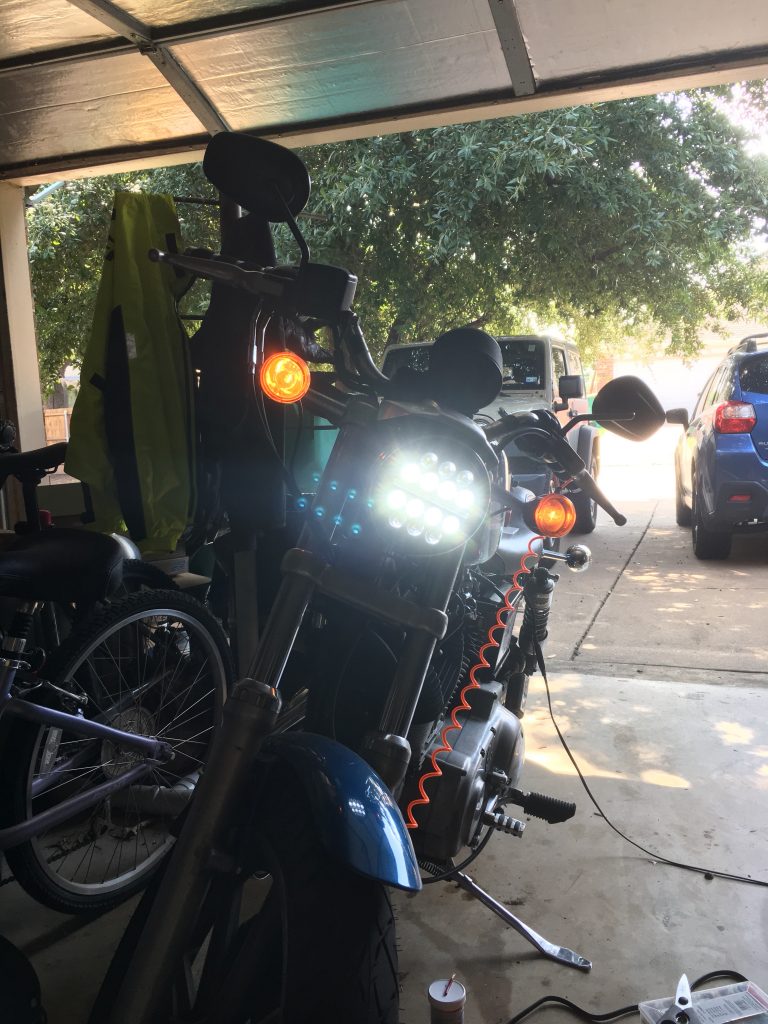
Once that was out of the way, I could install the new one. I’d initially picked up one of MoonsMC‘s Moon Maker 2s, but it wouldn’t fit in the headlight bucket. There’s just too much wiring in there, and I wasn’t about to try to cram it in. MoonsMC was super easy to work with, agreeing to swap it out for one of their Fly Eye units. That one is very thin, approximately two inches, which means that there’s plenty of room in the bucket. I plugged it in and did a quick test to make sure that it worked. Once I was satisfied that it was functioning as it should, I popped it in the bucket, and tightened everything up. It’s much brighter than the stock headlight was, which really wasn’t much of a stretch, because that thing was pretty weak by modern standards.

I really can’t say enough about MoonsMC. They’ve been awesome to deal with, and if they ever make LED lights for my Fat Bob, I’ll buy them in a heartbeat. If you’ve got an older bike that you want to update your headlight on, please give them a look. I don’t think you’ll be disappointed.

Awaiting a new socket

Awaiting a new headlight socket.

A decent soldering job

Spiffy soldering job, with matching shrink tubes.

It's super thin!

The Fly Eye – It’s super thin!

Installed headlight

The new headlight, installed.

Bright headlight

Bright headlight is bright!

Wrenching On The Fat Bob And Jeep

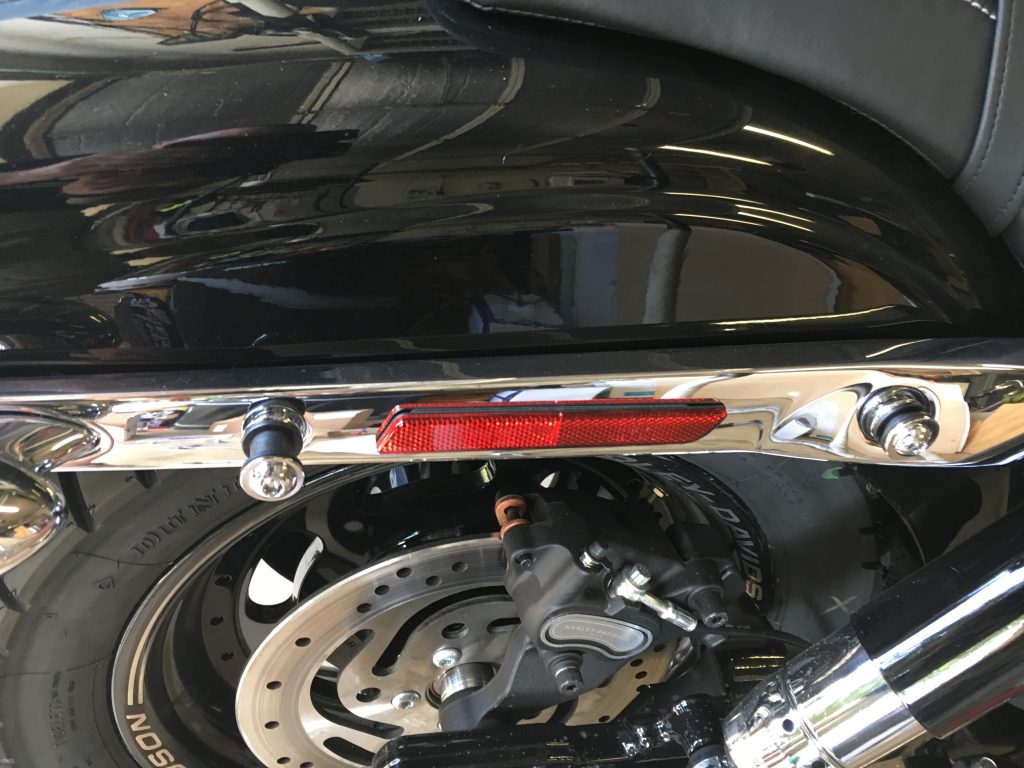
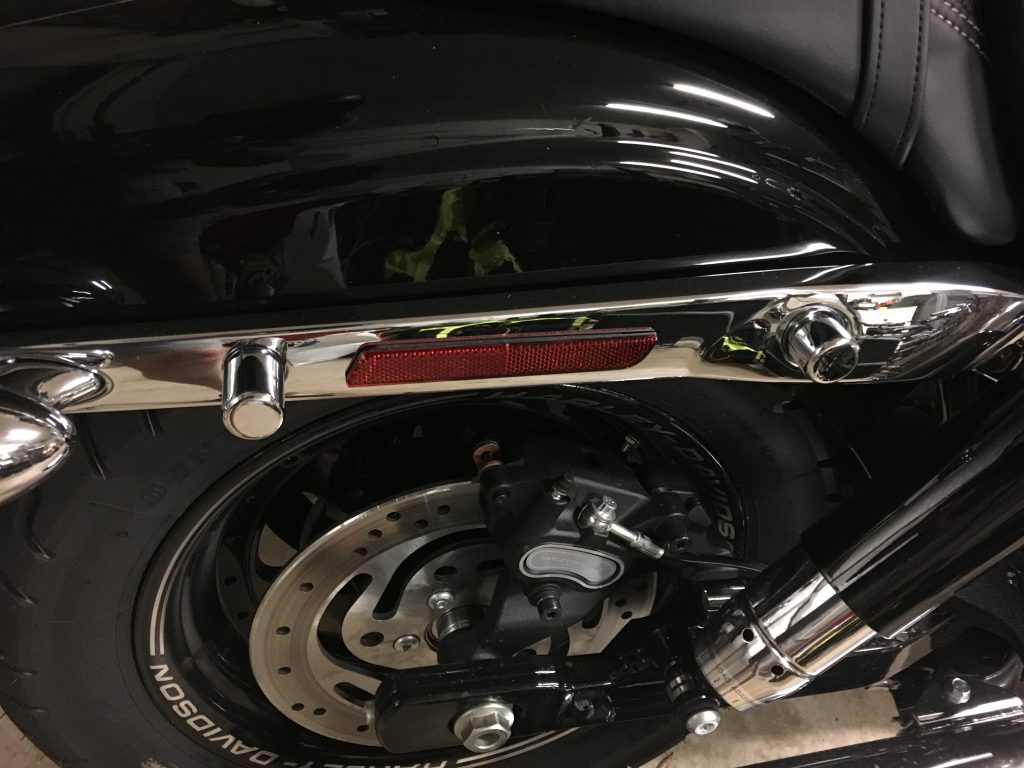
I got up early to beat the heat and started wrenching on the Fat Bob and Jeep. Most of the work was on the Jeep, but I did install the detachables mounting points on the Fat Bob. The installation was relatively straightforward, as long as you’ve got the right tools. After installing them, I added the magnetic covers. The magnets in them are really strong, so I don’t have much concern about them falling off. Here’s some before and after pictures.

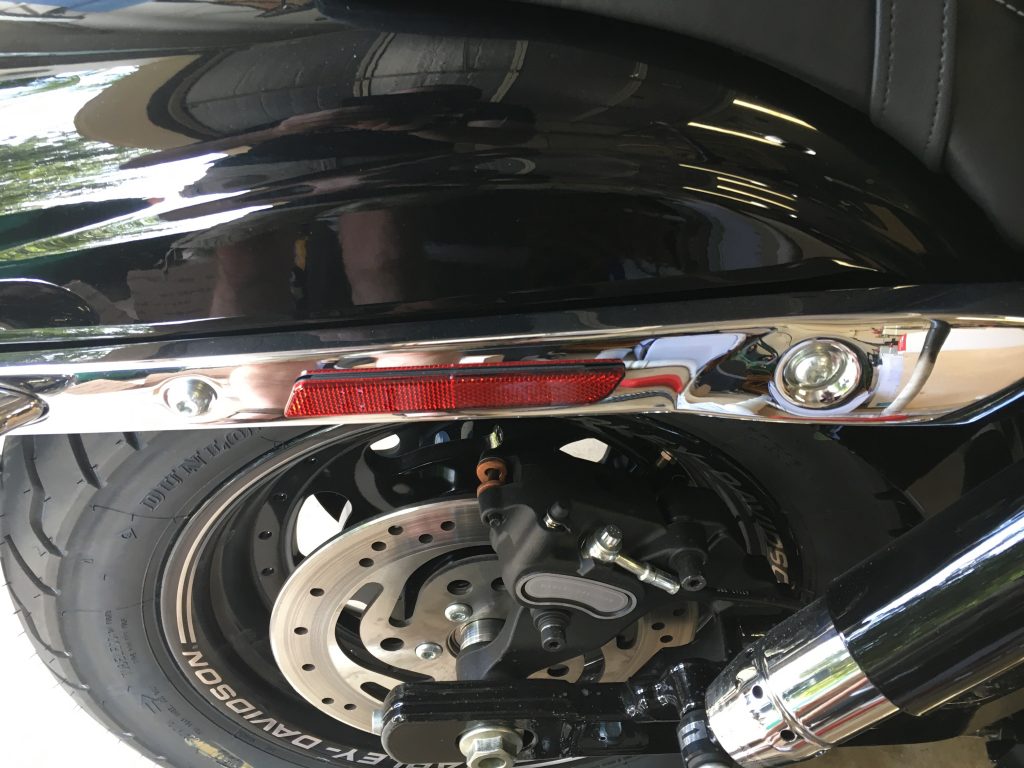
Stock Fat Bob fender

Stock Fat Bob fender

Detachables mounting points installed

Detachables mounting points installed

Detachables with covers in place

Detachables with covers in place

After I finished with the bike, I started on the Jeep. First, I started on the oil change by opening the drain plug and letting it drain while I worked on other things. I pulled apart the dash, pulled out the HVAC controls, and checked on an LED that hasn’t been lighting up. The LED in question was, in fact, burned out, so I’m going to have to order a new one. In addition to troubleshooting that LED, I also added a small wedge to keep the radio from sagging. I then put the dash back together and replaced the shifter boot and bezel, which were all but falling apart.

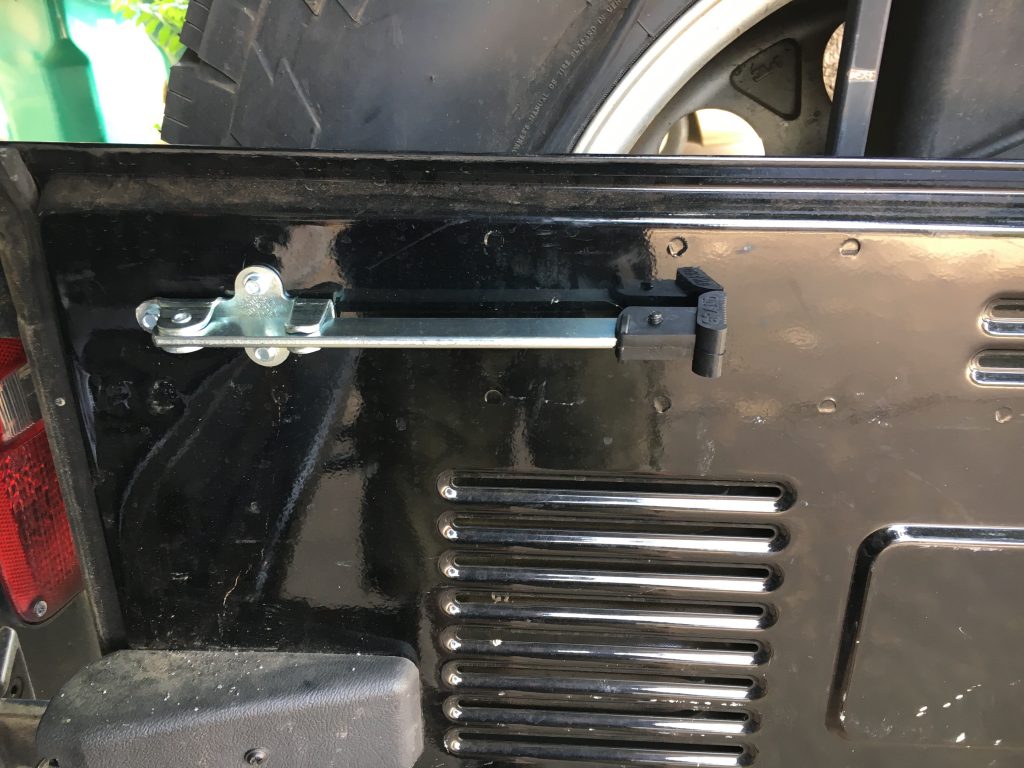
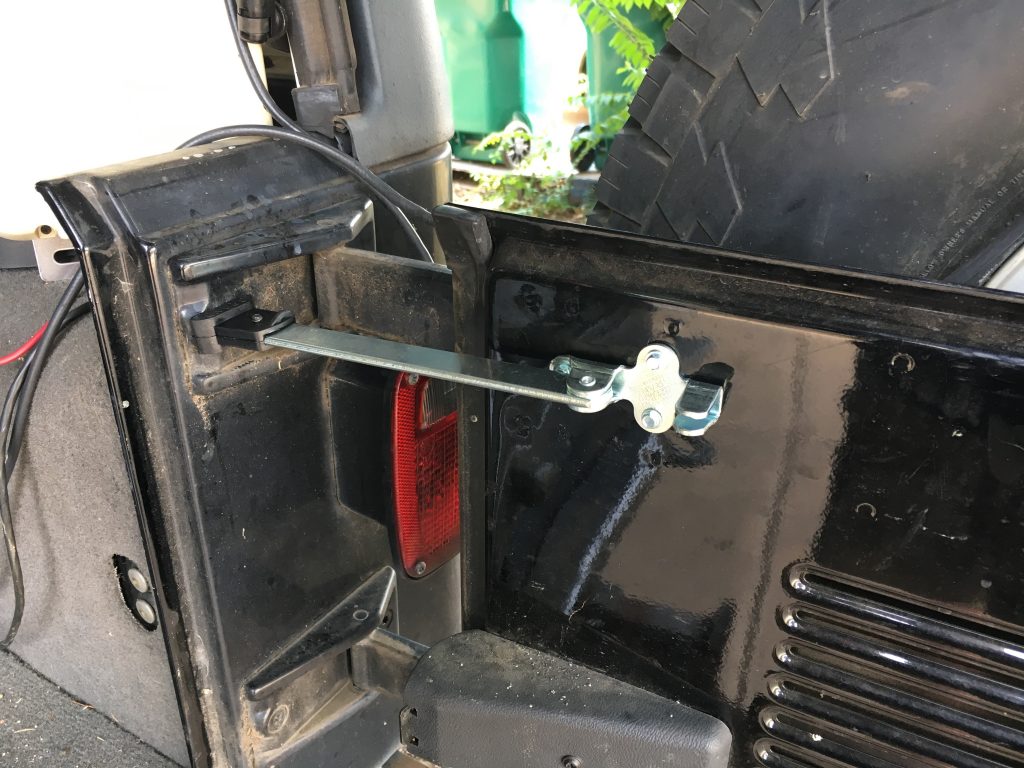
I then crawled back under the Jeep and finished off the oil change, which was completely uneventful. Finally, I installed the American Outlaw Gate Keeper. It’s an add-on that corrects one of the flaws in the Wrangler design. Namely that the tailgate does not lock open, which makes it really tough to put on 65 pounds of dive gear from in the cargo area. The Gate Keeper is a brace that holds the tailgate open. It mounts on the tailgate using self-tapping screws, and folds away when not in use. I’d strongly recommend that you use a drill to drive those self-tappings screws in, because doing them by hand is an exercise in frustration. Here are some pictures of it.

Gate Keeper in closed position

Gate Keeper in closed position

Gate Keeper in open position

Gate Keeper in open position

Traded In The Road Glide For A Fat Bob

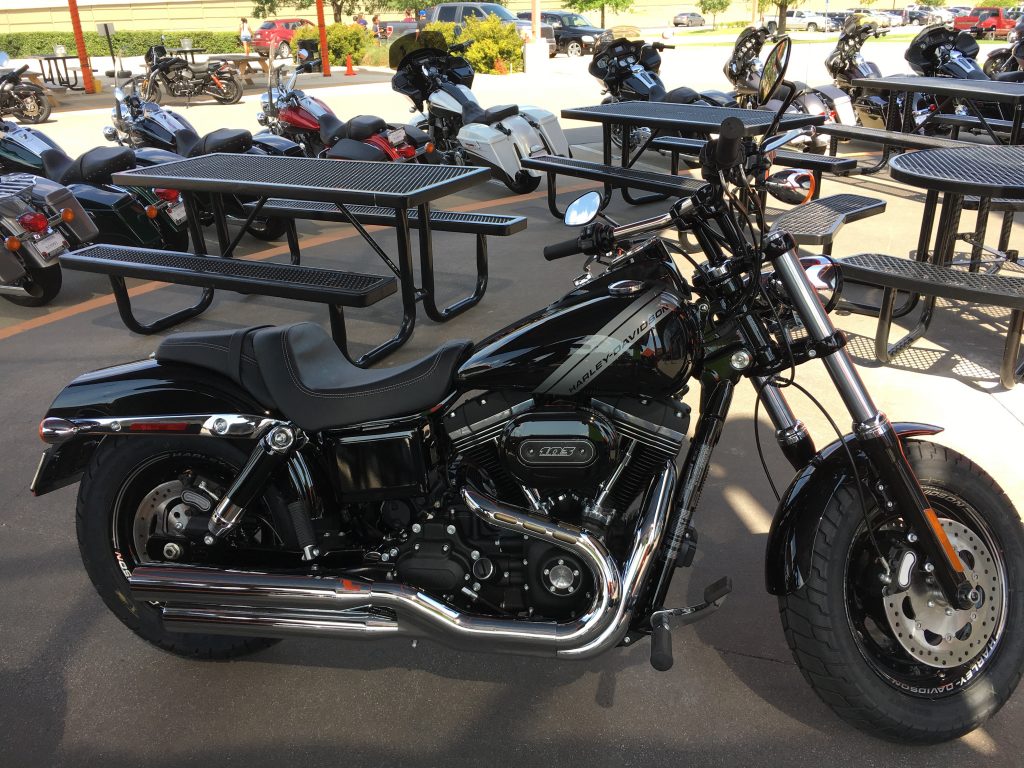
It’s no secret that I haven’t been riding the Road Glide all that much. The bike is great for touring, but isn’t all that much fun otherwise. It’s heavy, top heavy, and I was continually afraid that I’d drop it. I knocked off work and rode up to American Eagle Harley Davidson to see what they had to offer. Today was the last day of their retail for trade event, so I was hoping to get a decent offer on the Road Glide. I did, and ended up riding home on a 2017 Fat Bob.

Tony, the salesman that I was working with, was an absolute pleasure to work with. We started out by talking about what I liked and didn’t like, and what I wanted. After that he shoed me a few models, talking about their comfort and handling. Then I got to sit on a few different bikes to get a feel for them. I was looking at Softails and Dynas, and Tony’s advice steered me to the Dyna family.

Next, we started on test rides. The first bike was a Softail Deluxe, and I didn’t even get out of the lot before I had made my mind up on it. It’s hard to explain, but it just didn’t feel right for me. The second bike I rode was a Dyna Wide Glide, which felt better, but was still a little off. It handled ok, but not what I was looking for thanks to the front end rake. The third, and final bike, was the Fat Bob. This one just felt right, handling how I expected, and looking good. I was zipping though parking lots, making U-turns, and just in general handling the way I like.

At this point I wanted this bike to come home with me, but we needed to get the numbers sorted out. If they weren’t good, I’d be selling the Road Glide privately and then coming back. It turns out that I didn’t need to worry, as they gave me almost what I paid for the Road Glide in trade. In the end, I rode off on a two year newer Fat Bob, owing less than when I rode in.

2-17 Fat Bob

2017 Fat Bob

Sportster Rebuild Part 1 – Painting The Sheet Metal

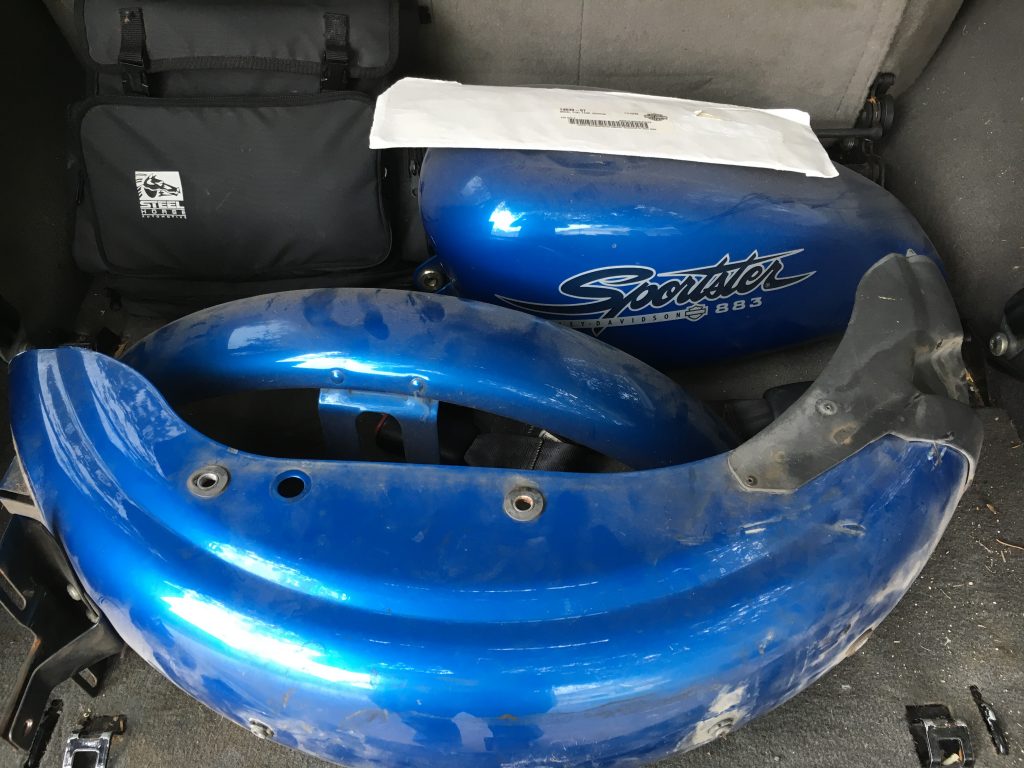
I’ve started the Sportster rebuild for real this time. I took the fenders and gas tank up to InDepth Customs to have them repainted. Matt looked them over and is comfortable that he’ll be able to repaint them with the stock color, using the original decals I found a few years back. We’ve discussed what my goals are, and I think we’re going to be able to work together on it. I’m going with 2004+ 1200 heads, N4 cams, and some sort of performance exhaust. I’m also going to have to do a lot of cosmetic repairs and upgrades, because well, it’s twenty years old. Those are things that Reese and I can do when he’s down here though.

I’m not sure what the actual timeline is going to be, but I’m hoping to have it up and running by the end of May at the latest. Here’s a couple pictures of the sheet metal on its way up there. In addition, there are a few rust spots on the frame that will have to be touched up. I’m going to have him repaint the oil tank as well, because it also has some surface rust. The next step is to get the bike up to the shop so that we can determine what’s wrong with the engine. That will control which direction this project goes.

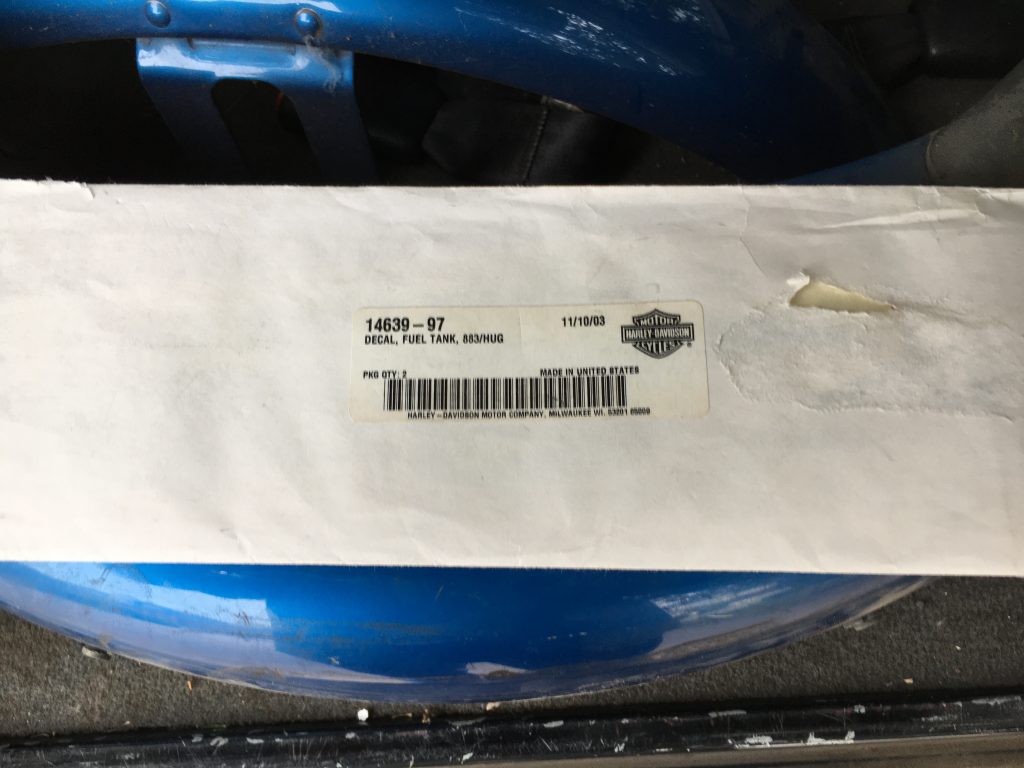
Tank decals

Tank Decals

Sheet metal in need of fresh paint

Sheet metal in need of fresh paint

King Tour-Pak For The Road Glide – Part 1

Heather and I drove down to Horny Toad Harley-Davidson to pick up the King Tour-Pak I had ordered. The drive down was mostly uneventful, except for the car fire we passed in the opposite direction, not far from the dealership. We got all the boxes loaded up, including the Tour-Pak, a gloss black detachable mounting rack, the correctly keyed lockset, the passenger backrest, and locking detachable clamps, and hit the road for home. Remember that car fire? Well, by the time we left, it had backed up I-35 for a few miles and was getting worse, so we decided to try some back roads to avoid the mess. That worked out well, and we got back to the house in a reasonable amount of time.

And that’s where this becomes part 1 of many. It’s my fault, I should have opened the boxes at the dealership, just to verify that everything was ok. But we were in a hurry, and the boxes were all straight from Harley-Davidson, so what could possibly go wrong? Well… The Tour-Pak isn’t painted correctly. It is Vivid Black, like the label on the box said, but unfortunately, it’s missing the pin striping which the same label says should be on it. So I called the dealership back, and they’re going to ping Harley-Davidson on Monday to see what went wrong and get me the correct Tour-Pak.

Custom Dynamics Bullet Ringz

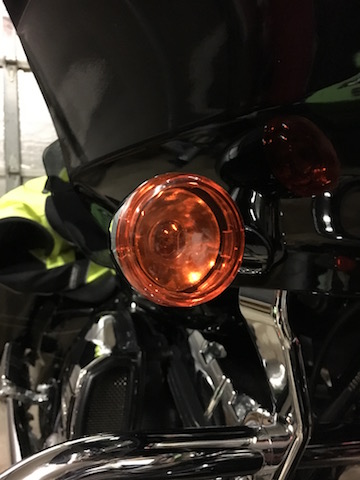
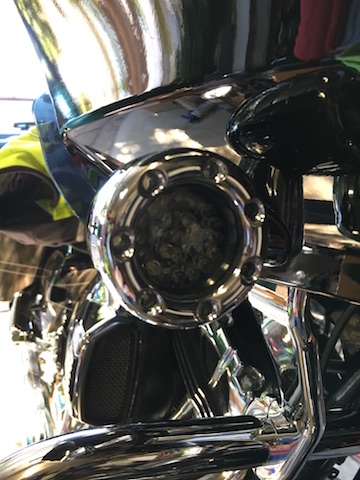
This morning’s project on the Road Glide was to replace the stock turn signals with Custom Dynamics Bullet Ringz. The stock turn signals are incandescent bulbs with colored lenses, red for the rear and yellow for the front. They’re passable as far as brightness is concerned, and I’m really not terribly concerned about the power draw from them. The Bullet Ringz are LED based, much brighter than the stock bulbs, and give me better running lights, as well as slightly decreasing the load on the charging system.

For the front, I chose to go with the amber/white modules, which have an outer ring of bright white running lights and an inner cluster of bright yellow for the turn signal. For the rear, I went with red/red modules, meaning that both the outer right and inner cluster are red. All of the modules were ordered in chrome, with the smoked lens option.

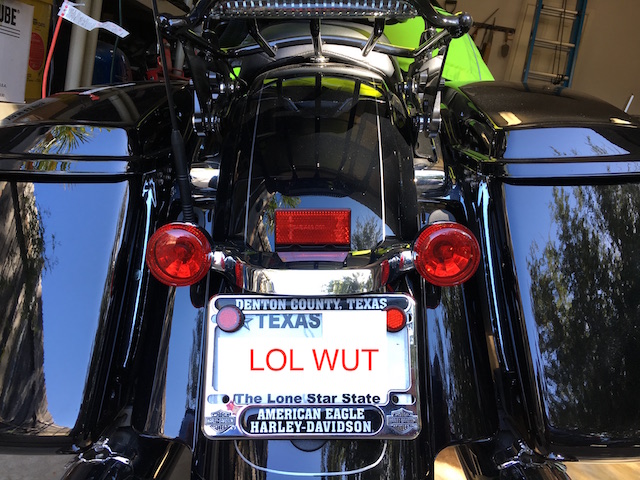
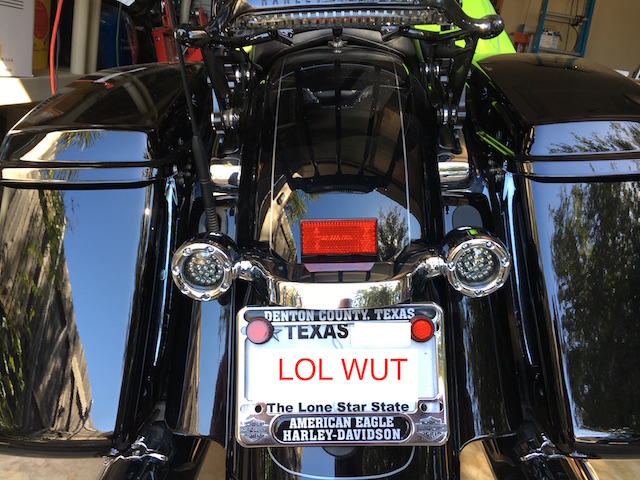
Installation was extremely easy. Simply take off the old lenses, remove the bulbs, plug the module in to the light bulb socket, coil up the wires, and snap the new module in place. There is no need to replace the lenses, as the module is the replacement. And since the bike has CAN-BUS electronics, there’s no need for a load equalizer. All I had to do was turn on the hazards for a couple minutes to let everything sync up. The end result looks good and performs far better than the original bulbs.


Stock turn signals on the FLTRXS

Stock turn signals on the FLTRXS

Custom Dynamics Bullet Ringz installed

Custom Dynamics Bullet Ringz installed

Stock turn signals on the FLTRXS

Stock turn signals on the FLTRXS

Custom Dynamics Bullet Ringz installed

Custom Dynamics Bullet Ringz installed

Project AWARE Coral Reef Conservation Course

I spent the morning down at DFW SCUBA Shop, taking PADI‘s Project AWARE Coral Reef Conservation course. It’s a non-diving course that’s open to anyone who is interested in learning more about coral reefs, not just divers and snorkelers. The course covered a number of aspects of reefs, including their biology and lifecycle, threats to them, and what we can do to help conserve them.

I learned a lot about reefs, and you probably will too, so don’t discount this course just because it seems like it’s cheesy. There was a significant amount of information presented, covering a lot of sub-topics, and you’ll come away learning more than you thought. Our instructor had some extra videos, not just the one for the course, that really helped bring everything together. Plus, the course counts as one of the specialty diver courses for if you’re going to go for PADI’s Master Scuba Diver certification.

It was also time for me to replace the fins that got lost/misplaced on the cruise. I picked up a pair of Cressi FINNAMEs instead of getting another set of Frog Plusses. I think these will be a little better, as they fit better, and they’re a bit stiffer, which should translate in to better control and efficiency.